Automating repetitive tasks on your computer can save time and effort. In this article, we will guide you through the process of using Windows Task Scheduler to automatically copy one folder to another using a simple batch file.
Step 1: Create a Batch File
- Open Notepad or any text editor.
- Write the following command to copy the folder:
@echo off echo Copying folder...
xcopy "C:\Source\Folder" "D:\Destination\Folder" /E /I /Y
echo Folder copied successfully.
Replace “C:\Source\Folder” with the path to your source folder and “D:\Destination\Folder” with the destination folder’s path.
- Save the file with a .bat extension, for example, “CopyFolder.bat”.
Step 2: Test the Batch File
Double-click the batch file to ensure it successfully copies the folder. Verify that the destination folder is either empty or doesn’t contain essential data, as it will be overwritten.
Step 3: Set Up Task Scheduler
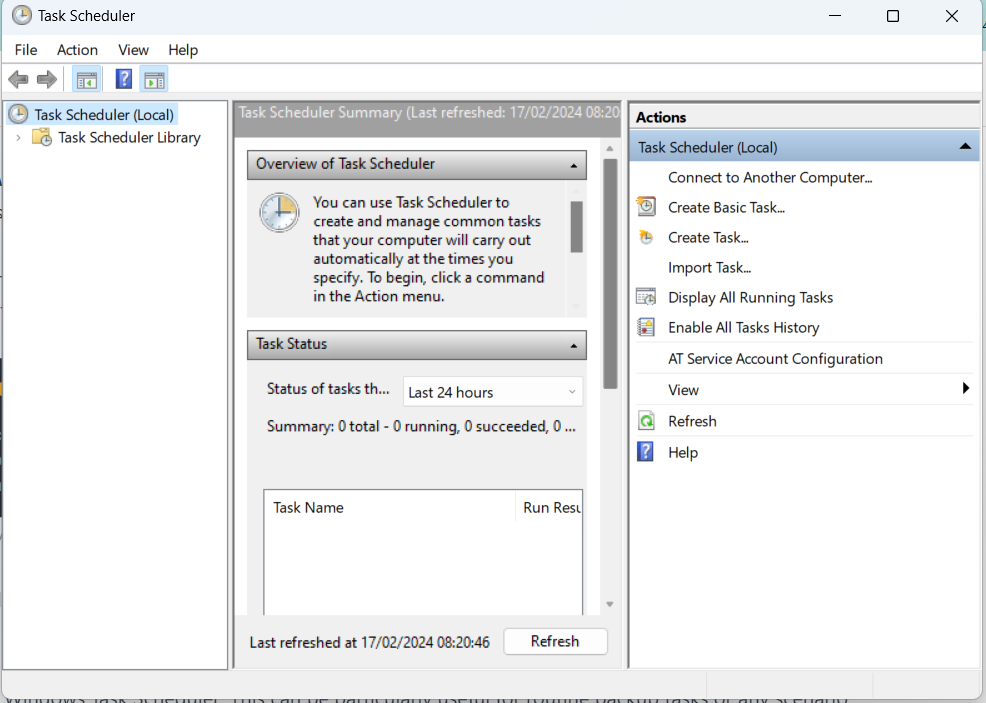
- Open Task Scheduler by searching for it in the Start menu.
- In the Actions pane on the right, click on “Create Basic Task.”
- Follow the wizard, providing a name and description for the task.
- Choose the trigger (e.g., daily, weekly) for when you want the task to start.
- Set the start date and time for the task.
- Choose the action to start a program.
- Browse and select the batch file you created (e.g., “CopyFolder.bat”).
- Review your settings and click “Finish” to create the task.
Real-world Example:
Let’s say you have a folder named “Documents” on your desktop (C:\Users\YourUsername\Desktop\Documents), and you want to regularly back it up to an external drive (E:\Backup\Documents).
Adjust the batch file as follows:
@echo off echo Copying Documents folder to backup...
xcopy "C:\Users\YourUsername\Desktop\Documents" "E:\Backup\Documents" /E /I /Y
echo Backup completed successfully.
/E: Copies directories and subdirectories, including empty ones./I: If the destination does not exist and you are copying more than one file, this switch assumes that the destination must be a directory./Y: Suppresses prompting to confirm that you want to overwrite an existing destination file.
Conclusion:
By following these steps, you’ve set up an automated task to copy a folder from one location to another using Windows Task Scheduler. This can be particularly useful for routine backup tasks or any scenario where you need to replicate data between folders on a scheduled basis.
Discover more from Data Engineer Journey
Subscribe to get the latest posts sent to your email.
Would it be possible to save to a new directory each time, like creating a folder with the current date time. also would it be able to delete previous copies if there are X of them in the directory?